


Let’s set up your Meeting Owl 5 Pro
Select the setup type that’s best for your meeting space.


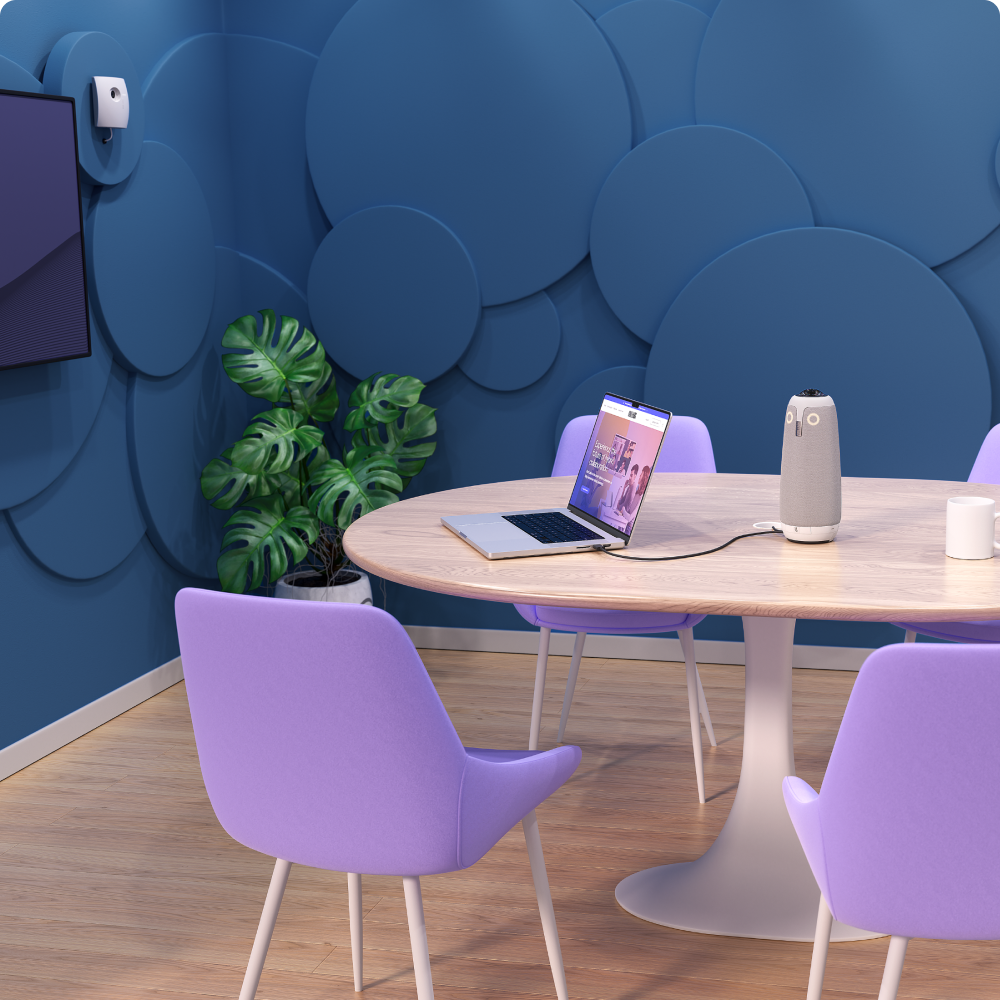
BYOD Setup
BYOD setup is best for flexible meeting spaces where users join or host meetings from their own laptop. The Meeting Owl 5 Pro’s HDMI passthrough feature makes it simple to quickly launch meetings with reliable sound, video, and connection to the in-room display — all by just plugging the Owl’s USB cable into your laptop.

Unbox and take stock
Carefully place all box contents on a tabletop for your convenience during setup.

What’s in the box
Meeting Owl 5 Pro
Privacy Cap
Bottom Cover
Power adapter
Power Cable
SuperSpeed USB-C Cable
HighSpeed USB-A Cable*
HDMI Cable
Guide
*Not required for this setup type – set aside.
Find your perfect placement
Position the Meeting Owl in the centre of your table for the best experience.
For optimal audio and video performance, the Owl should be at least 1.2 metres from any walls or TVs, and no more than 3 metres from the furthest meeting participant.
If additional range is needed, we recommend pairing with a second Meeting Owl 5 Pro for complete audio and video coverage.

Take off the bottom cover
Turn your Owl over and use the folding D-ring to unscrew the bottom cover.
Caution: Take care not to touch or scratch the lens.

Step 4: Connect to power
On the bottom of the Owl, plug its power cable into the POWER port, then plug the power adapter into an outlet.
The LED next to the port should light up green, indicating a successful connection.
Step 5: Plug in the USB cable
Plug the SuperSpeed USB-C cable into the Owl’s USB-C port.
You’ll need to plug this cable into your laptop to use the Owl in meetings, so make sure it’s easily accessible on or around the table for a plug-and-play experience.

Step 6: Connect to Ethernet (Optional)
We recommend connecting your Owl to Ethernet for a stable, reliable network connection. WiFi set-up can be completed via the Meeting Owl App.
To connect to Ethernet, plug an Ethernet cable into the Owl’s NETWORK port, then complete the connection to your Ethernet wall socket.
Step 7: Set up HDMI passthrough (Optional)
For the best end-user experience, we recommend using the Owl’s HDMI passthrough feature, which enables content sharing from a laptop to a TV with a single cable to the Meeting Owl 5 Pro.
To set up HDMI passthrough, plug the end of the included HDMI cable marked ‘Display’ into your in-room TV, then plug the other end into the Owl’s HDMI OUT port.
Reminder: Check your Owl’s USB cable – HDMI passthrough requires the SuperSpeed USB-C to USB-C cable to work properly.

Step 8: Route and check cables
Complete the cable connections by routing each cable through the appropriate retention channel on the bottom of the Meeting Owl, and double-checking each connection to make sure you've done it correctly.
Tip: Utilising the retention channels prevents any loose or unsecured cable connections.
Step 9: Secure the bottom cover
Reattach the bottom cover using the D-ring screw, then place the Owl on your table.
Download the App
Follow the registration prompts in the Meeting Owl App to complete setup and unlock your Owl’s suite of features, including:
Connect your Owl to WiFi (if applicable)
Perform software updates
Enrol in the Nest for remote device management
Customise the Owl’s audio and video settings

Start your first meeting
Congrats, your Meeting Owl 5 Pro is ready for business! To use the Owl in meetings, just grab your laptop and follow the steps below.

Perform a meeting test
Plug the Owl’s USB cable into your computer.
Start or join a meeting in your preferred video conferencing platform.
Select the Meeting Owl as your Camera, Speaker and Microphone in your meeting platform.
Display meetings on your TV
To display your meeting on a TV, you can either leverage the Owl’s HDMI passthrough for a simple, single-cable connection (recommended) or connect from your laptop using your usual method, such as an HDMI cable or screen casting.
Explore more Meeting Owl features
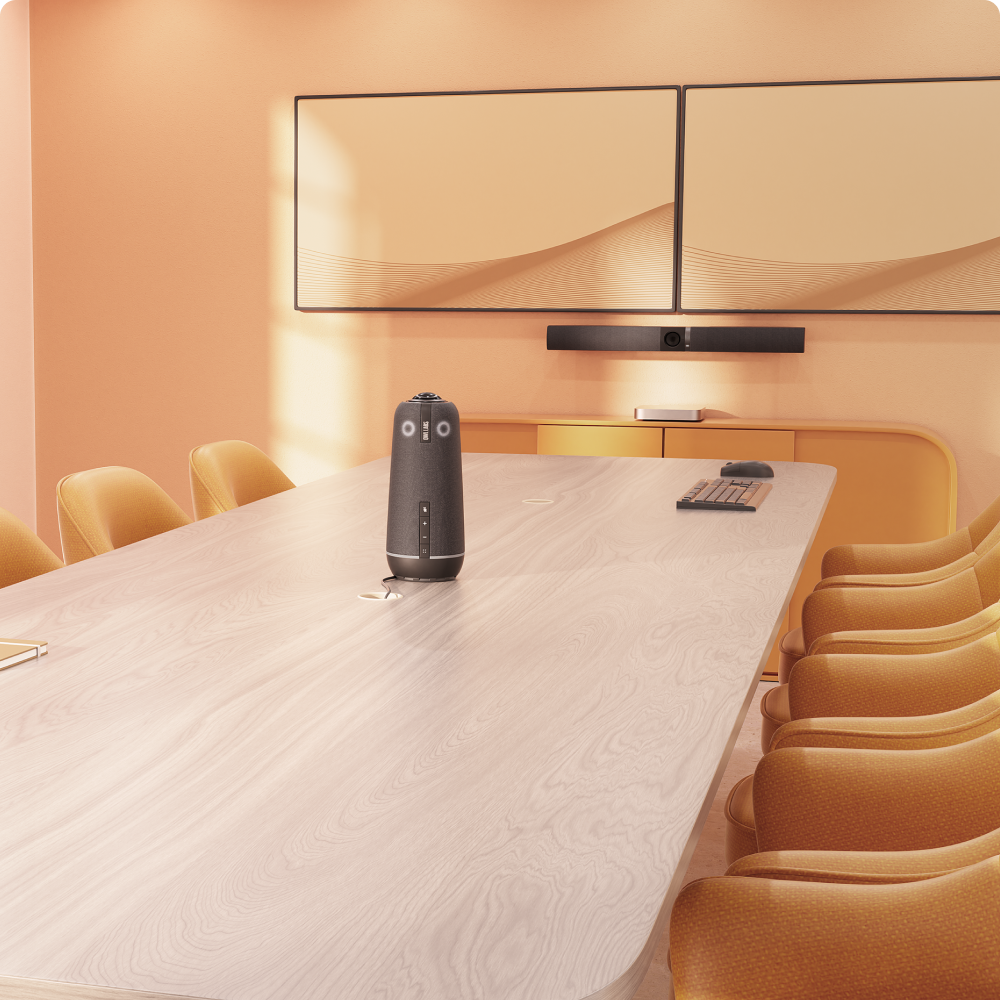
USB Peripheral Setup
USB Peripheral setup is best for meeting spaces equipped with dedicated hardware that hosts and controls meetings, like Microsoft Teams Rooms, Zoom Rooms, ClickShare Hubs, and more. In this setup, the Meeting Owl 5 Pro connects to the room system as a ‘peripheral’ device, providing reliable sound and video to the in-room computer during meetings.

Unbox and take inventory
Carefully place all box contents on a tabletop for your convenience during setup.
What’s in the box
Meeting Owl 5 Pro
Privacy Cap
Bottom Cover
Power adapter
Power cable
SuperSpeed USB-C Cable*
HighSpeed USB-A Cable
HDMI Cable*
Guide
*Not used in this setup type – set aside.
Find your perfect placement
Position the Meeting Owl in the centre of your table for the best experience.
For optimal audio and video performance, the Owl should be at least 1.2 metres from any walls or TVs, and no more than 3 metres from the furthest meeting participant.
If additional range is needed, we recommend pairing with a second Meeting Owl 5 Pro for complete audio and video coverage.

Take off the bottom cover
Turn your Owl over and use the folding D-ring to unscrew the bottom cover.
Caution: Take care not to touch or scratch the lens.

Step 4: Connect to power
On the bottom of the Owl, plug its power cable into the POWER port, then plug the power adapter into an outlet.
The LED next to the port should light up green, indicating a successful connection.
Step 5: Plug in the USB cable
Plug the USB-C end of the HighSpeed cable into the Owl’s USB-C port. Then plug the USB-A end into your room system’s compute device.

Step 6: Connect to Ethernet (Optional)
We highly recommend connecting your Owl to Ethernet for a stable, reliable network connection. Alternatively, Wi-Fi set-up can be completed via the Meeting Owl app.
To connect to Ethernet, plug an Ethernet cable into the Owl’s NETWORK port, then complete the connection to your Ethernet wall jack.

Step 7: Route and check cables
Complete the cable connections by routing each cable through the appropriate retention channel on the bottom of the Meeting Owl, double-checking each connection.
Tip: Utilising the retention channels prevents any loose or unsecured cable connections.
Step 8: Secure the bottom cover
Reattach the bottom cover using the D-ring screw, then place the Owl on your table.
Download the App
Follow the registration prompts in the Meeting Owl App to unlock your Owl’s suite of features, including:
Connect your Owl to WiFi (if applicable)
Perform software updates
Enrol in the Nest for remote device management
Customise the Owl’s audio and video settings
Start your first meeting
Congrats, your Meeting Owl 5 Pro is ready for business! To use your Owl in meetings, follow the instructions below.
Perform a meeting test
Launch your meetings as usual via the connected room system, double-checking that the Meeting Owl is selected as your Camera, Speaker and Microphone in the platform.
Explore more Meeting Owl features
Expand your coverage with pairing options
The Meeting Owl 5 Pro devices can pair with each other for wider coverage in larger meeting spaces. The Meeting Owl 5 Pro can be paired with another Meeting Owl 5 Pro via either a wired or wireless connection.


accessories
Enhance your Meeting Owl set-up with compatible add-ons and room accessories.

Expansion Mic
Extend audio pickup range by 8 ft (2.5 m), so everyone seated at longer tables can be heard clearly.
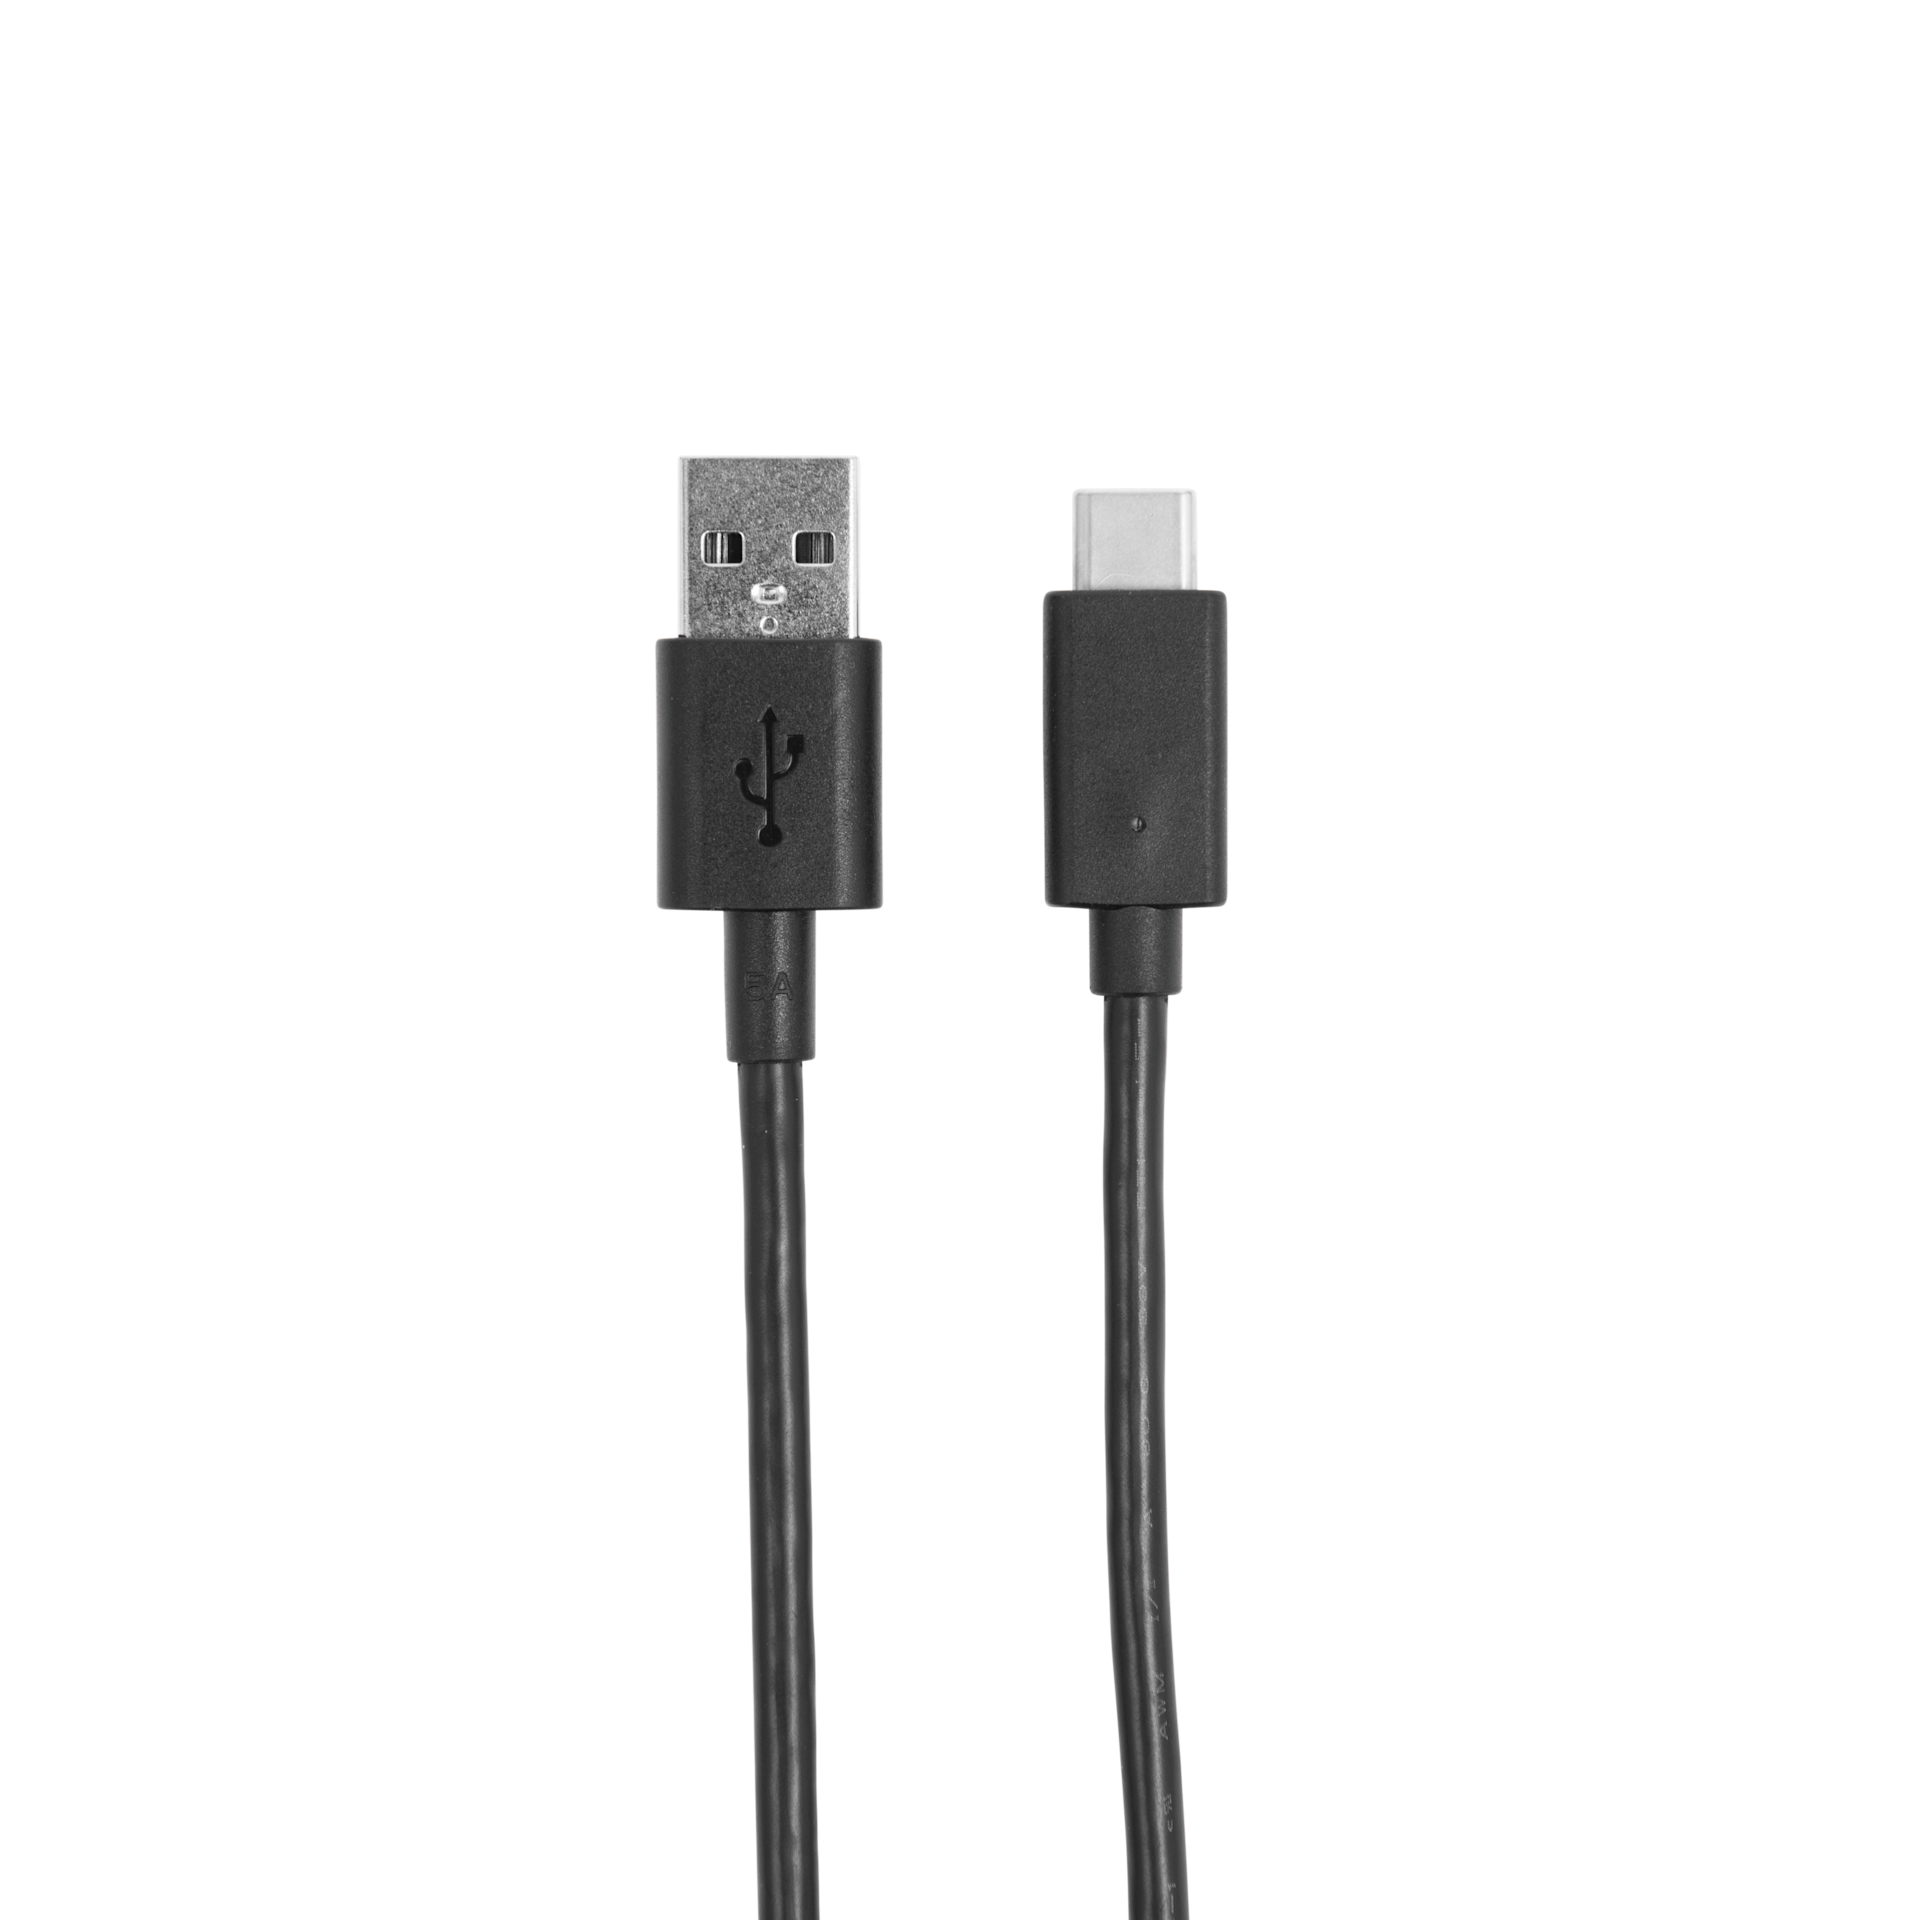
USB-C to USB-A Cable (16'/5M)
Our 5-metre USB extension cable supports larger rooms and configurations. Compatible with the Meeting Owl® 3 device.

USB-C to USB-C SuperSpeed Cable, 16 ft/5 m
Our 5 m (16 ft) USB-C cable supports larger rooms and configurations. Compatible with the Meeting Owl 3, Meeting Owl 4+, and Meeting Owl 5 Pro.

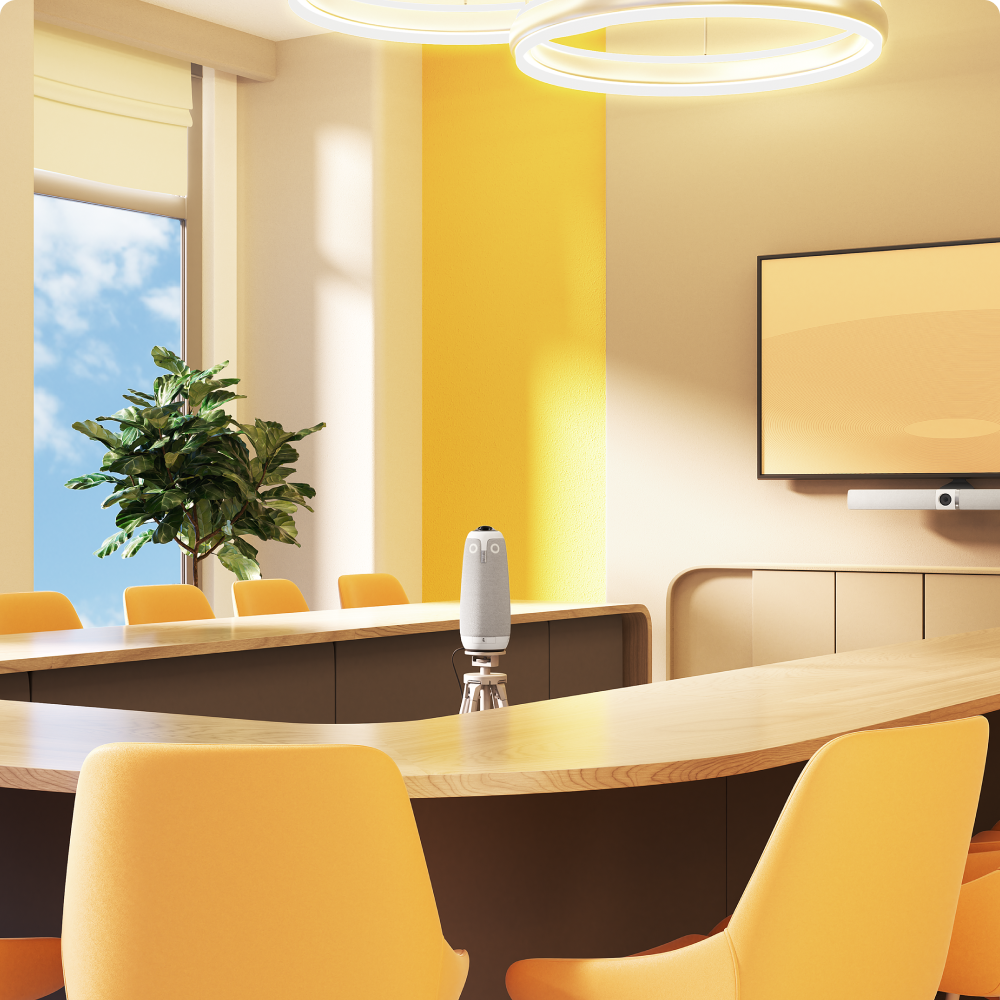
Meeting Owl Tripod
Mount your Meeting Owl for stable, but flexible positioning in classrooms, U-shaped tables, and other dynamic setups.