How to set up the Meeting Owl 3: The Ultimate Guide
As you’re perfecting your hybrid office, you need the right tools and setup to make work manageable for each of your teammates. That means building a process to get your video conferences up and running in a seamless fashion that works for everyone.
The Meeting Owl 3 helps you create an immersive hybrid meeting experience in any space with an intelligent 360° camera, mic, and speaker that gets smarter over time. Here are the six steps you need to take to set up your Meeting Owl 3, from unboxing to your first meeting in just 6 minutes.
1. Determine the best location for your Meeting Owl
The Meeting Owl 3 is best for all types and sizes of meeting spaces. Pick the setup that works for you:
In a small huddle room that fits 2-4 people, place the Meeting Owl camera in the center of the table, at least 18 inches (0.5m) from the TV.
In a medium to large conference room, place the Owl in the center of the table, at least 3ft (1m) from the in-room TV or monitor and within 18ft (5.5m) of in-room participants.
For larger conference rooms, expand the view of your Owl to 28ft (8.5m) by pairing two Meeting Owls and/or connect to an Expansion Mic to extend its audio pick-up range by 8ft (2.5 meters).
Feel free to experiment with the placement of the camera to best suit your meeting's needs. Use the Meeting Owl Stand, tripod, or mount your Meeting Owl to the ceiling (we call this bat-mode) to capture the best view of everyone in the room. Use these room setups to find what arrangement works best for you.

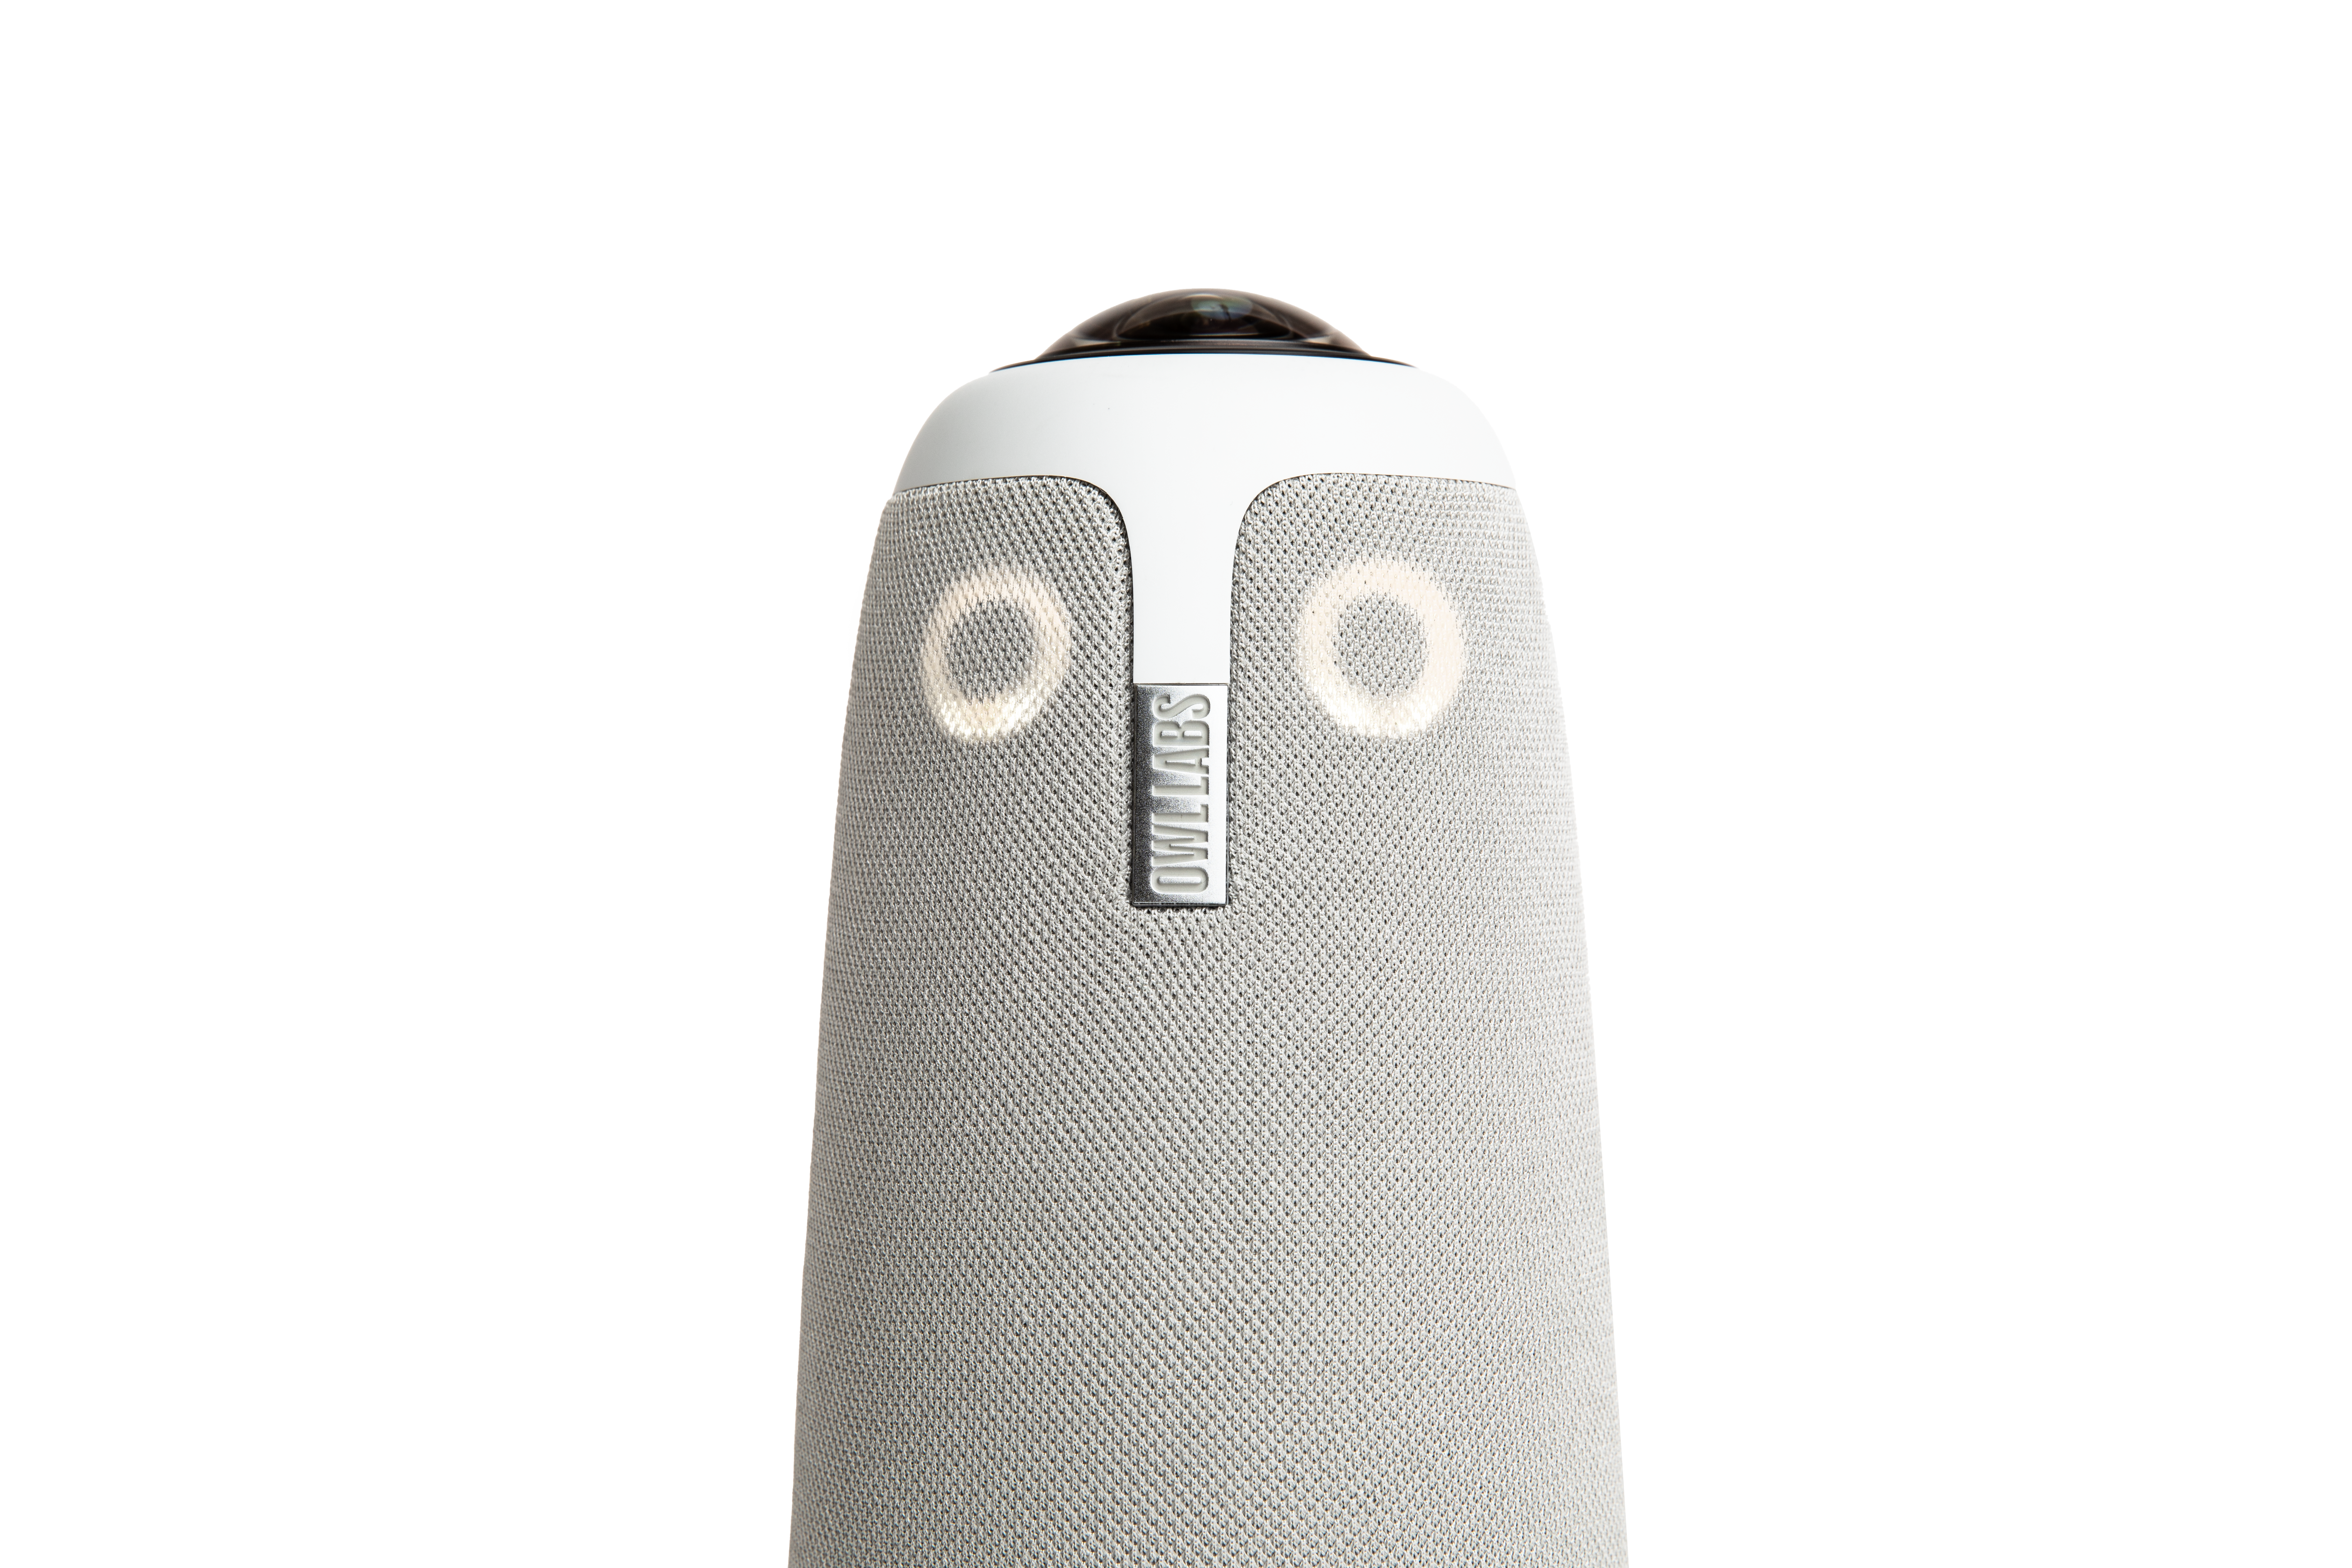
2. Turn the Owl over to plug in the USB-C cable + power adapter
Your Meeting Owl 3 comes with a power adapter and a 6.5ft (2m) USB-C to USB-C cable. Turn the Owl over, plug the USB cable, then plug the same cable into an in-room computer or laptop. Lastly, plug the power adapter into the Owl and an outlet. Wait until the Owl's eyes stop pulsing, and you hear a hoot. This indicates that your Meeting Owl camera is fully powered on.

3. Download the Meeting Owl mobile app + register your Owl
Download the Meeting Owl App for desktop, mobile, or tablet and set up your Owl. The Meeting Owl App is available on any iOS or Android phone as well as Windows and Mac desktop computers, giving you complete access to easily set up and manage your meetings, adjust settings, and more.
Working with more than one Meeting Owl? The Nest is Owl Labs’ personalized customer web-based portal where you can manage your fleet of Owls. Your Meeting Owl camera is WiFi-enabled to get smarter over time through continuous software innovations and feature launches to our Owl Intelligence System.

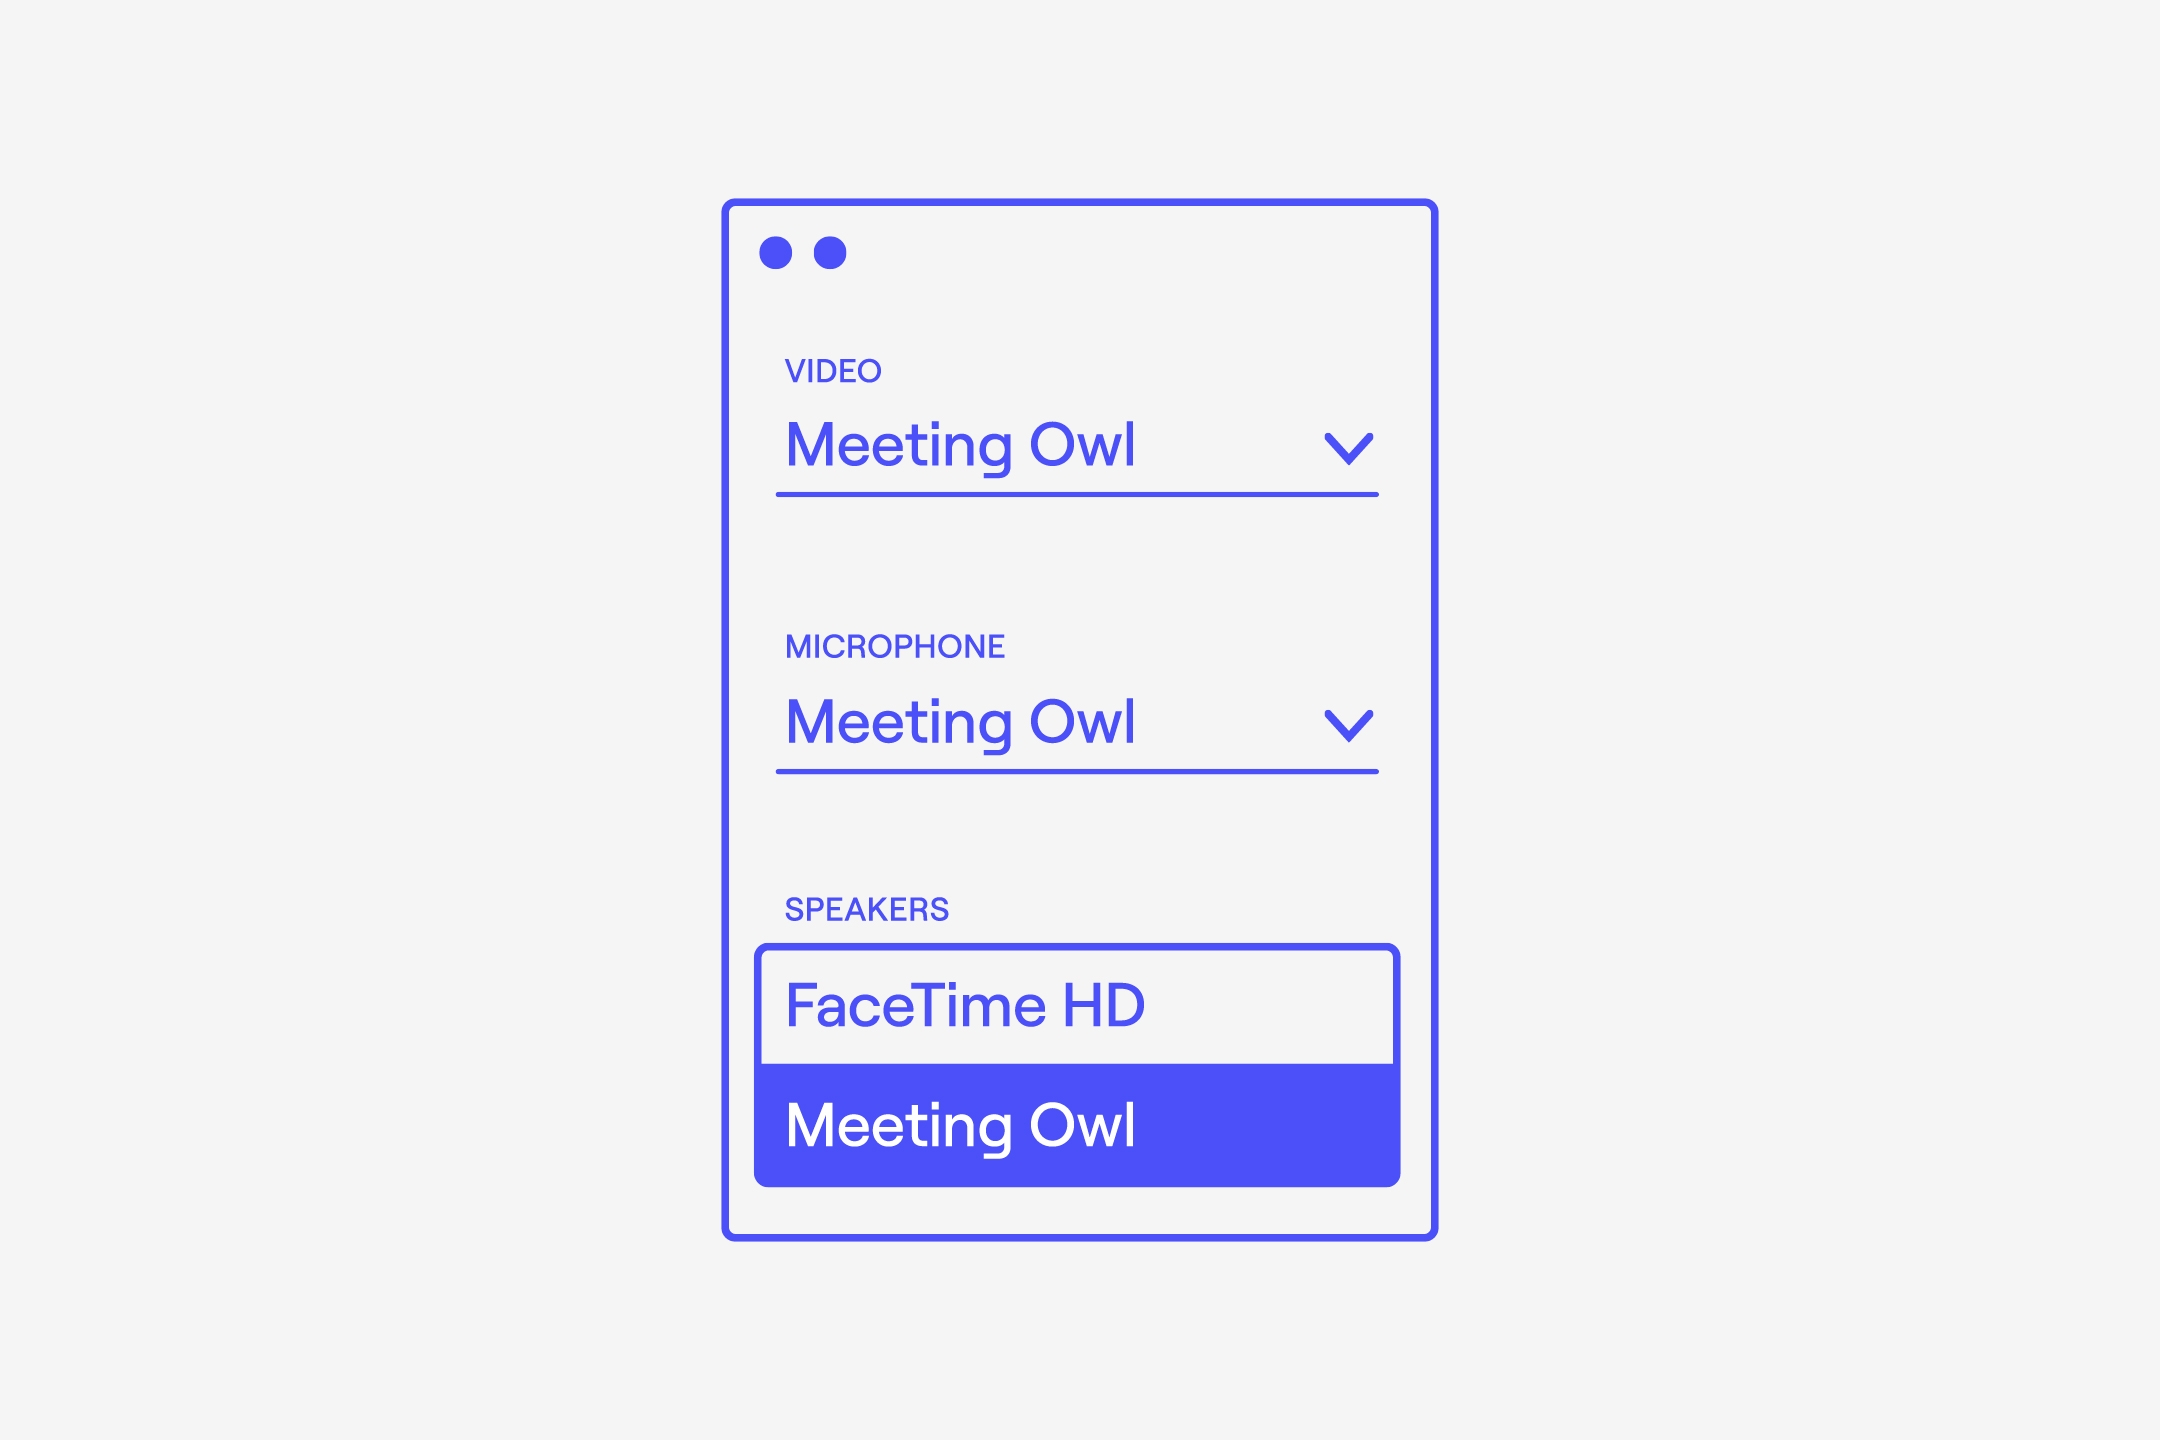
4. Load your video conferencing platform + choose the Meeting Owl for audio and video
Your Meeting Owl 3 supports most video conferencing platforms including Zoom, Microsoft Teams and Google Meet. Simply load up your video conferencing platform and choose the Meeting Owl for audio and video. The platform will recognize the Owl as your main camera and microphone for meetings.
5. Connect or cast your computer to your TV to display the Owl's video
Using a wired connection or tools like AirPlay, you can cast your video conference to your room’s display monitor. That way, everyone in the room can see your remote attendees — and the Owl ensures everyone on the call can see your in-office participants, too.
6. Start your meeting
It’s as easy as that — just six steps and roughly six minutes to get your meetings set up with the Meeting Owl 3. With accessories and customizations for every workplace, classroom, and meeting space, you can mix and match functions that work for you and set up out-of-this-world video conferencing.
It really makes meetings a hoot.